Photographing your artwork: 7 tips
Having digital copies of your artwork can prove invaluable to any artist. You can use them when applying to colleges, participating in contests, or when displaying your work on a website or blog. They serve as a back-up in case of fire, theft, or sale. Here are a few tips you can follow to take better photographs of your artwork:
1. Use a professional camera, not a smart phone.
Although phones are accessible and easy to use, their cameras won’t capture the level of crisp details that is needed in digital copies. Try to photograph your artwork using a professional camera; CCAD's library allows you to rent a camera if you don't have one. It might also prove worthwhile to ask your teachers, parents, or friends to see if you can borrow one.
2. Take photos in direct sunlight or natural light.
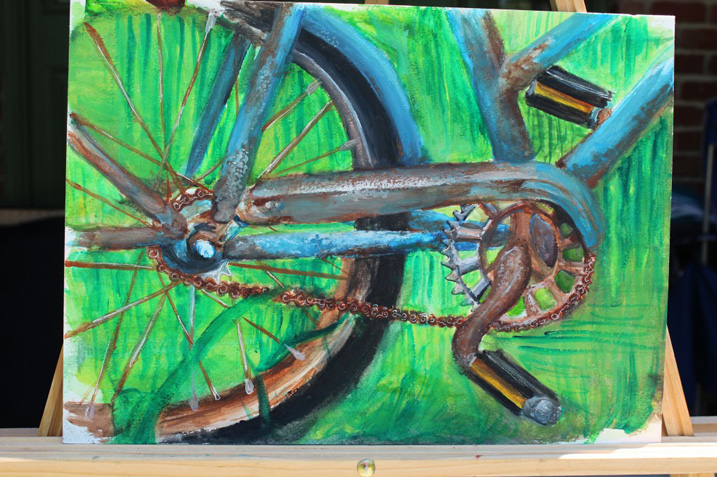
Artificial lighting can make pictures look yellowed, unfocused, or too dark. Some teachers recommend hanging artwork on a white wall to photograph.

Photograph your artwork outside, in natural light.
3. Take multiple pictures of each work.
This way you can pick the best photo out of the shots. It also helps to have close-up photos that show the details of your artwork. This is especially important when photographing sculptures or 3D pieces, so the viewer can see it from every angle.
5. Make sure you pick the right resolution.
After taking the photographs, open the images in Photoshop to check the image size and resolution (DPI). When uploading images to social media, or the web, the resolution should be set to 72 DPI so they load quickly. On the other hand, when submitting images to galleries or your professors, it is recommended to set the resolution to 300 DPI, unless otherwise stated.
4. Photographs should be true to life.
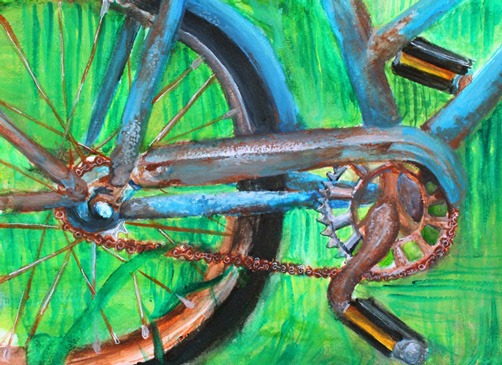
When looking though the pictures, compare them side-by-side to your original artwork. Do they look the same? Or just similar? If the background is gray instead of white, or if the colors aren’t vibrant enough, photograph it again. Also, photographs should display the artwork honestly; it’s not advisable to manipulate the image in Photoshop.

Make sure not to mess with saturation or contrast because this will distort the color.
6. Crop the image.
Make sure you photographs are cropped so that your artwork fills the screen. No one wants to see a corner of your kitchen table or bedroom wall in the background as this can be distracting and looks unprofessional.
7. JPEG.
Remember to save it as a .jpeg file with a descriptive name. This will make a life a lot easier when you need to find it later on and send it to places.
For more information, here are some websites with more tips on photographing your artwork and more.
CCAD's TOP TEN TIPS FOR DOCUMENTING YOUR ARTWORK
CCAD's How to show Evidence of Creativity in Your Portfolio
How to Photograph Art and More